
How to Build a DIY Wood Range Hood
Thinking about upgrading your kitchen without spending a fortune? A DIY wood range hood might be exactly what you need. It’s one of the most impactful projects you can tackle to transform an ordinary kitchen into a stunning, custom-designed space. The best part? You don’t need to be a professional carpenter to pull it off. In this step-by-step guide, I’ll walk you through everything from choosing the right wood and building the frame to mounting and finishing your hood. By the end, you’ll have all the confidence and know-how to build a beautiful DIY wood range hood from scratch.
What Is a DIY Wood Range Hood?
A DIY wood range hood is a custom-built enclosure made from wood that conceals or surrounds a ventilation insert above a kitchen stove. It acts as both a functional component that channels smoke, steam, and grease away from the cooking area, and a decorative architectural feature that adds personality to any kitchen.
Unlike a metal factory hood that comes pre-built and ready to hang, a wood range hood cover is crafted to fit the exact dimensions of a kitchen space — making it a completely personalized addition. Many homeowners use a DIY range hood to cover an existing metal insert that sticks out awkwardly or clashes with the kitchen’s style. In those cases, the wood enclosure works as a vent hood cover rather than a full structural unit.
How a Wood Range Hood Works
The wooden structure itself is non-functional from a ventilation standpoint — it simply serves as a decorative shell. Inside, a ventilation insert (also called a range hood insert or blower unit) does the actual work. This insert draws air upward through the hood, filters out grease particles, and either exhausts the air outdoors through ductwork or recirculates it back into the kitchen after filtering.
The wood structure is built around the insert, acting as a range hood exhaust vent cover that blends seamlessly with the cabinetry and overall kitchen design. Gaps are left in the frame to accommodate the insert’s power supply and ductwork.
DIY vs. Store-Bought Range Hoods: Cost Comparison
One of the biggest reasons homeowners choose the DIY route is cost. A quality stainless steel or designer range hood from a retailer can cost anywhere from $500 to over $3,000. Building a custom wood cover for a range hood, on the other hand, typically runs between $150 and $600 in materials — depending on wood selection, insert quality, and decorative hardware.
Beyond savings, a DIY rangehood offers a level of customization that store-bought options simply cannot match. Homeowners can dial in the exact height, width, depth, and finish to complement their kitchen perfectly. For those who enjoy hands-on projects, the satisfaction of crafting something beautiful from scratch is a bonus that no price tag can replace.
Tools and Materials Needed for Your DIY Wood Range Hood

Before any cutting or building begins, gathering the right tools and materials saves time and frustration. Here is everything needed to complete this project successfully.
Essential Tools List
- Circular saw or miter saw for clean, straight cuts
- Nail gun (brad nailer) or hammer and finish nails
- Pocket hole jig for strong, hidden joints
- Measuring tape and framing square
- Level for accurate wall mounting
- Sander (orbital or belt sander for larger surfaces)
- Paintbrushes or foam rollers for finishing
- Stud finder for locating wall studs during installation
- Drill and assorted drill bits
- Caulk gun and wood filler
Recommended Wood Types for Range Hoods
Selecting the right wood is one of the most important early decisions in this project. The wood needs to be stable, workable, and capable of holding paint or stain well.
- Poplar – An affordable hardwood that paints beautifully. Ideal for painted range hoods.
- Maple – Dense and smooth-grained, excellent for stained finishes that highlight natural wood tones.
- Oak – Classic and strong with a distinctive grain. Works well in rustic or traditional kitchens.
- MDF (Medium-Density Fiberboard) – Budget-friendly and very smooth, though it requires a wood veneer or paint since staining is not ideal.
- Pine – Lightweight and affordable, great for farmhouse or cottage-style hoods when stained or painted.
Hardwoods like maple and oak are generally better choices for a wood cover for range hood projects that will be stained, while poplar and MDF suit painted finishes best. Avoid woods that warp easily in high-humidity environments.
Ventilation and Insert Options
The ventilation insert is the engine inside the hood. It is essential to choose one before building the frame, since the frame dimensions must accommodate the insert perfectly.
There are two types of inserts to consider: ducted (vented to the outside) and ductless (recirculating). A ducted insert offers superior performance for serious cooks — it removes heat, moisture, and odors from the kitchen entirely. A ductless insert recirculates air through charcoal filters, making it a better option when running ductwork is not feasible.
Popular insert brands for DIY projects include Broan, ZLINE, and Cosmo. Always verify that the insert’s CFM (cubic feet per minute) rating matches the stove size — for a standard 30-inch range, a minimum of 400 CFM is recommended.
Estimated Material Costs
- Lumber (poplar, pine, or MDF) – $50 to $150
- Ventilation insert – $100 to $500 depending on brand and CFM
- Trim moulding and decorative accents – $20 to $80
- Paint, stain, and sealer – $30 to $80
- Hardware (screws, nails, pocket hole fasteners) – $15 to $40
- Total estimated range: $215 to $850
Compared to a premium store-bought vent hood cover, the DIY version offers significant savings — especially for homeowners who already own some of the tools.
How to Measure and Plan Your Wood Range Hood
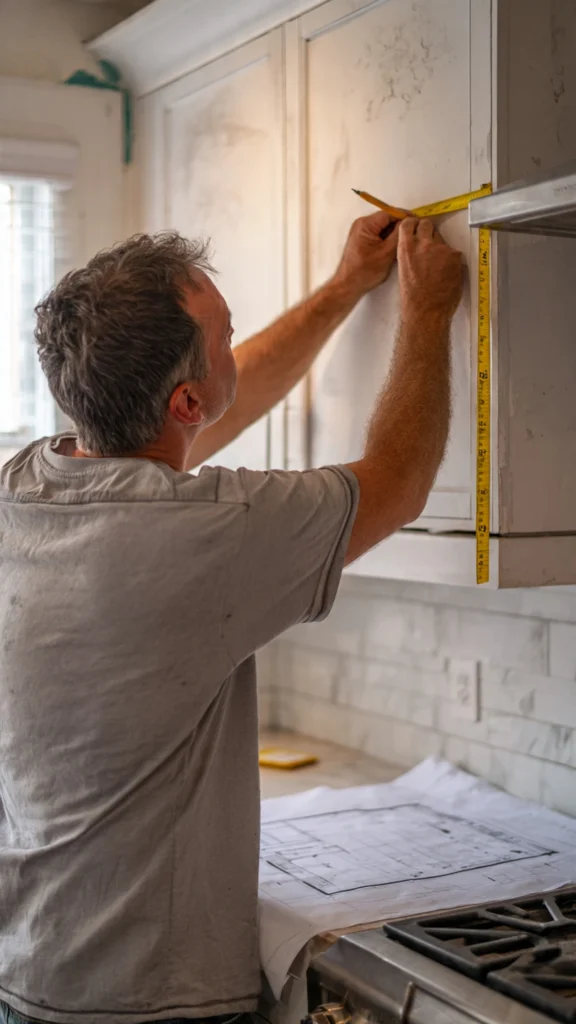
Accurate measurements are the difference between a hood that looks like it belongs and one that sticks out for all the wrong reasons. Before picking up a saw, spending time on careful planning pays off in a smoother build and a better-looking result.
Measuring Your Space Correctly
The hood should be at least as wide as the cooking surface, though extending it 3 inches on either side is a common approach that improves both aesthetics and ventilation efficiency. Standard mounting height from the cooking surface to the bottom of the hood is 24 to 30 inches for gas ranges and 20 to 24 inches for electric ranges — always check the insert manufacturer’s guidelines first.
Here are the key measurements to take:
- Width of the cooktop or range
- Height from the stovetop surface to the underside of the upper cabinets
- Depth of the upper cabinet (the hood typically matches this)
- Distance from the center of the range to the nearest wall studs (for mounting)
- Location of any existing ductwork or electrical connections
Choosing the Right Range Hood Style
The style of the range hood should complement the existing kitchen design. There are three main profiles to consider, each with its own aesthetic and structural requirements.
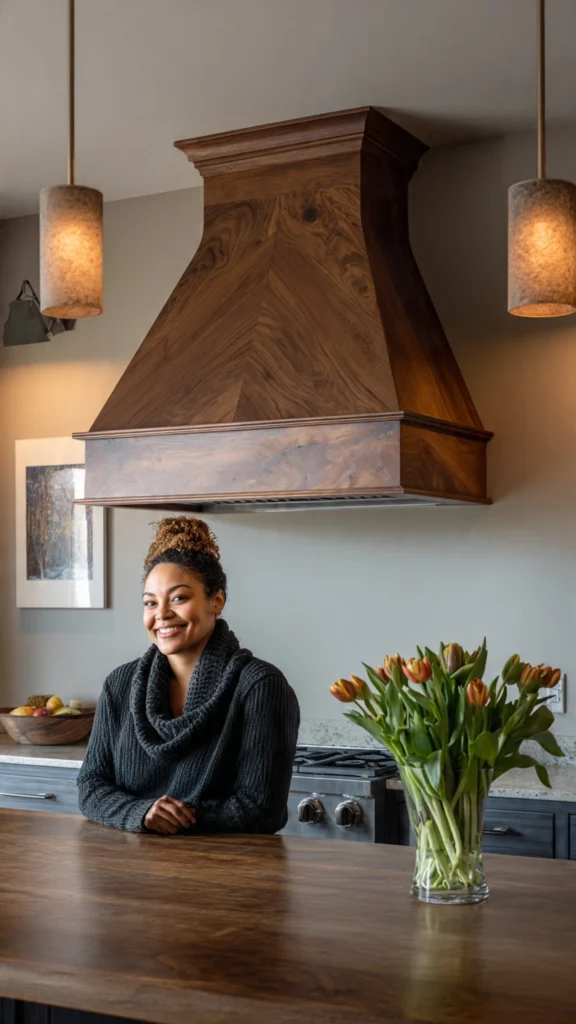
Tapered/Angled Hood
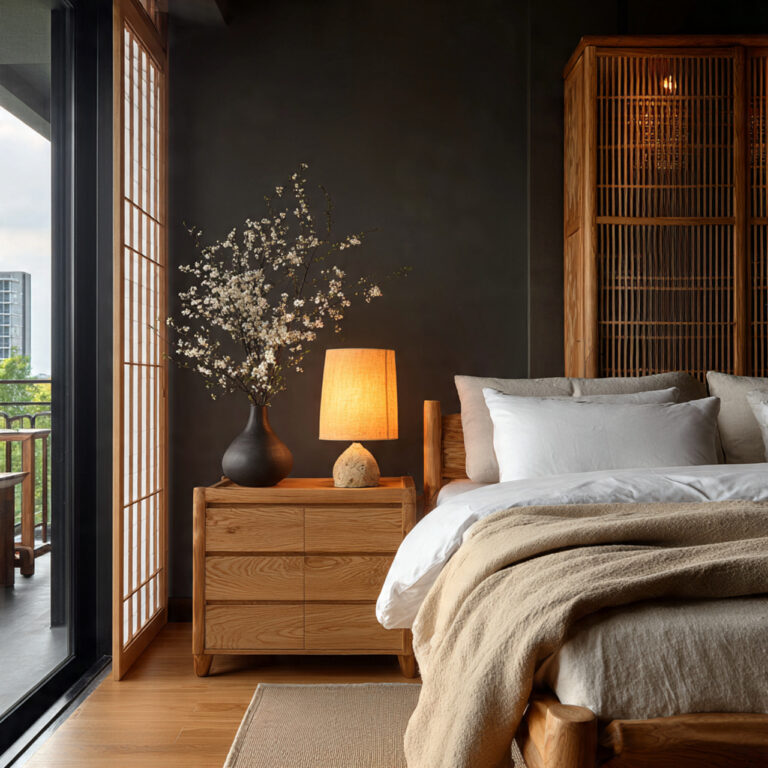
The tapered or angled style features sides that narrow as they rise from the cooking surface up to the duct transition. This silhouette is clean, elegant, and works beautifully in transitional or modern farmhouse kitchens. The angled panels require careful angle cuts, making a miter saw especially useful for this style. This is one of the most popular profiles seen in custom kitchen renovations — it pairs exceptionally well with a
shiplap range hood design and blends naturally into kitchens inspired by Japandi design aesthetics.
Box-Style Hood
The box-style hood is exactly what it sounds like — a clean, rectangular enclosure that drops straight down from the ceiling or upper cabinets. This style is the easiest to build due to its simple geometry and is ideal for those tackling their first DIY vent hood project. It suits modern, minimalist, and industrial kitchens particularly well.
Curved/Arched Hood
The curved or arched hood introduces a softer silhouette with a rounded front face. While it requires a bit more skill — typically using thin strips of bending plywood or flexible MDF — the result is a truly custom look. This style fits beautifully in traditional, French country, or Mediterranean-style kitchens.
Creating Your Cut List
Once the style is settled and all measurements are confirmed, it is time to build a cut list. A cut list details every piece of wood needed, its dimensions, and the quantity required. Creating this list before heading to the lumber yard prevents multiple trips and wasted material.
A basic cut list for a tapered box-style hood includes: two side panels, one front face panel, a top panel, a bottom skirt, internal framing pieces, and decorative trim strips. Label every piece and double-check dimensions before cutting — measuring twice and cutting once is old advice for a reason.
How to Build a DIY Wood Range Hood: Step-by-Step
With the plan in place and materials gathered, it is time to build. Each step below builds on the previous, so working in order keeps the project organized and efficient.
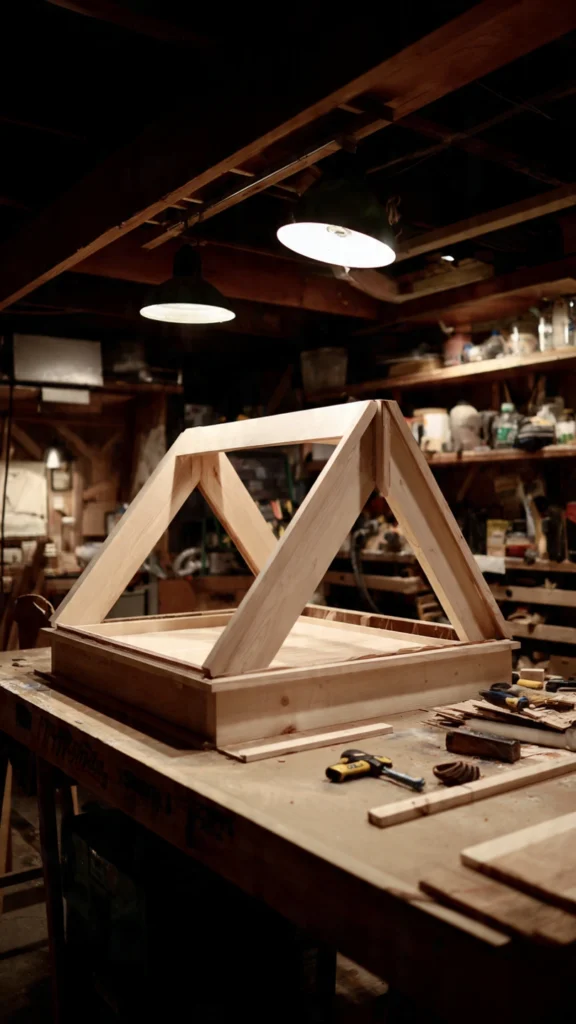
Step 1 – Building the Frame
The internal frame is the skeleton of the hood — it provides structural support and gives the exterior panels something solid to attach to. Most DIY range hood frames are built from 2×4 or 2×3 lumber, assembled using pocket hole screws for clean, hidden joints.
Cut the frame pieces according to the cut list. The frame should form a box or tapered shape that matches the planned exterior dimensions. Assemble the frame using a pocket hole jig and wood glue for extra strength. Check each corner with a framing square to ensure everything is perfectly perpendicular — any twist in the frame will show through the finished exterior panels.
Step 2 – Constructing the Side Panels
The side panels are the most visible surfaces of the hood, so precision matters here. Cut them to size using the miter saw, ensuring the angles are accurate for tapered or angled styles. Sand each panel to 120 grit before assembly to save time during the finishing stage.
Attach the side panels to the internal frame using a brad nailer and wood glue. Pre-drill holes to prevent splitting, particularly if working close to panel edges. Fill any nail holes with wood filler and sand smooth once dry.
Step 3 – Attaching the Front Face
The front face panel is often the design focal point of the hood. For farmhouse styles, this might be a flat panel with decorative trim or corbels. For minimalist designs, it might be a clean, unadorned panel that emphasizes simplicity.
Attach the front face panel to the frame in the same manner as the side panels — brad nailer, glue, and pre-drilled holes where needed. Check that the front panel is flush with the side panels along every edge before the glue sets.
Step 4 – Installing the Ventilation Insert
With the wooden shell assembled, it is time to prepare it for the ventilation insert. The insert slides into the bottom opening of the hood and connects to the ductwork above. Follow the insert manufacturer’s instructions precisely for clearances and wiring.
Most inserts for a DIY vent hood require a dedicated electrical circuit. If the kitchen does not already have one nearby, consulting a licensed electrician before this stage is strongly recommended. Secure the insert using the mounting screws provided by the manufacturer, and connect the ductwork collar to the existing ductwork run.
This is the stage that transforms a beautiful wooden shell into a functional kitchen hood vent cover. A properly installed insert ensures the hood performs as well as it looks.
Step 5 – Mounting the Hood to the Wall
Before lifting the hood into position, locate the wall studs using a stud finder and mark them clearly. A range hood carries considerable weight — especially once the insert is installed — and must be anchored into studs rather than just drywall.
Use a temporary ledger board (a piece of scrap lumber temporarily screwed to the wall at the correct height) to support the hood while it is being secured. With a helper holding the hood in place, drive lag screws through the frame and into the wall studs. Use a level to confirm the hood is perfectly plumb and level before fully tightening all fasteners.
Step 6 – Adding Trim and Decorative Details
Trim is where a DIY wood range hood cover truly comes to life. Adding crown moulding along the top, cove moulding at panel transitions, or corbels at the lower front corners elevates the piece from functional to custom furniture.
Cut trim pieces to fit using a miter saw, glue and nail them in place, then fill nail holes and sand everything smooth. Pay particular attention to corner joints — tight, gap-free mitered corners are the hallmark of quality finish carpentry and will make the finished hood look professional.
How to Finish Your DIY Wood Range Hood
A well-built hood deserves a finish that protects it for years to come while making it look like it belongs in a magazine. Taking the time to prep and finish correctly ensures the wood stays beautiful despite the heat and humidity of a working kitchen.
Sanding and Prep Work
Begin with 80 or 100 grit sandpaper to knock down any rough spots, then progress to 120, then 150, and finally 180 grit for a silky-smooth surface ready to accept paint or stain. Sand in the direction of the grain at every stage to avoid visible scratches in the finished surface.
Once sanding is complete, wipe down the entire hood with a tack cloth to remove every trace of sanding dust. Apply a coat of wood primer if painting, or a pre-stain wood conditioner if staining softwoods like pine — this prevents blotchy, uneven stain absorption.
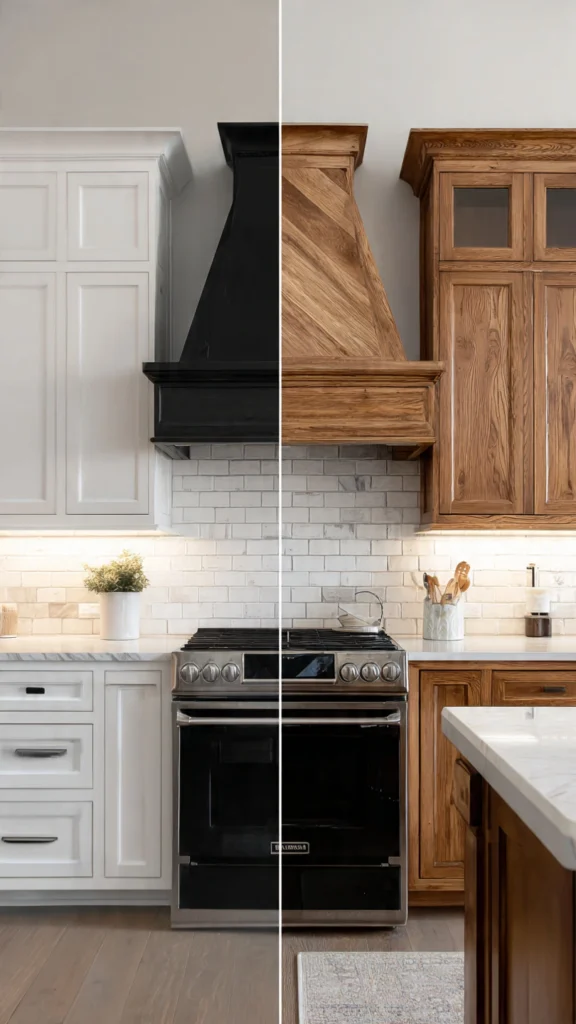
Staining vs. Painting Your Range Hood
The choice between staining and painting largely comes down to the kitchen’s overall aesthetic. Painted finishes — especially white, off-white, or soft gray — are the most popular choice for farmhouse, transitional, and contemporary kitchens. They tend to photograph beautifully and create a seamless look when the hood matches the cabinetry.
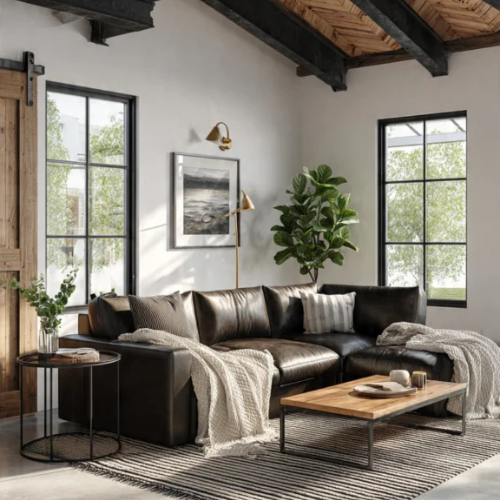
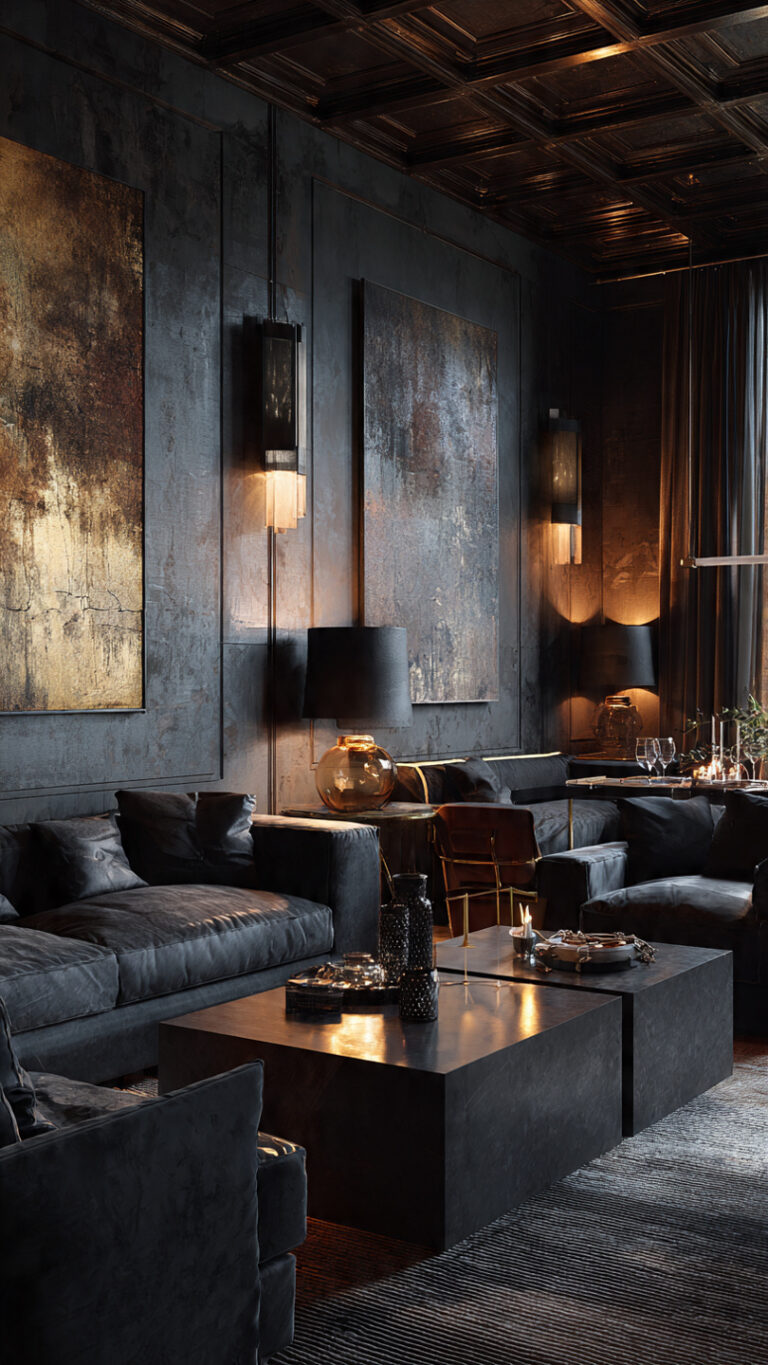
Stained finishes showcase the natural beauty of the wood grain and are ideal when the goal is to highlight real wood, particularly in rustic, Craftsman, or warm-toned kitchens. For kitchens leaning into a rich, moody aesthetic, darker stains pair beautifully with bold design choices — an approach explored in depth in this guide to moody interior designs for dark apartments.
Apply paint or stain in thin, even coats, allowing full drying time between each. Two to three coats is standard for most projects. Light sanding with 220 grit between coats produces a glass-smooth final surface.
Sealing for Heat and Moisture Protection
The kitchen is a high-humidity, heat-intensive environment, so sealing the finished hood is non-negotiable. For painted hoods, two coats of a water-based polycrylic topcoat offer excellent durability without yellowing over time. For stained wood, an oil-based polyurethane provides deep, long-lasting protection. For a detailed walkthrough on applying both product types correctly, this finishing guide from Family Handyman covers every step in detail.
Apply the sealer in thin coats and allow each coat to cure fully. Lightly scuff between coats with 400 grit sandpaper for adhesion. The completed seal coat should leave the surface feeling smooth and look uniformly shiny or satin, depending on the chosen sheen level.
DIY Wood Range Hood Styles and Design Ideas

One of the joys of building a custom range hood is the freedom to choose any aesthetic. From classic farmhouse to sleek and modern, the style possibilities are nearly endless. Here are four of the most popular looks to inspire the design process.
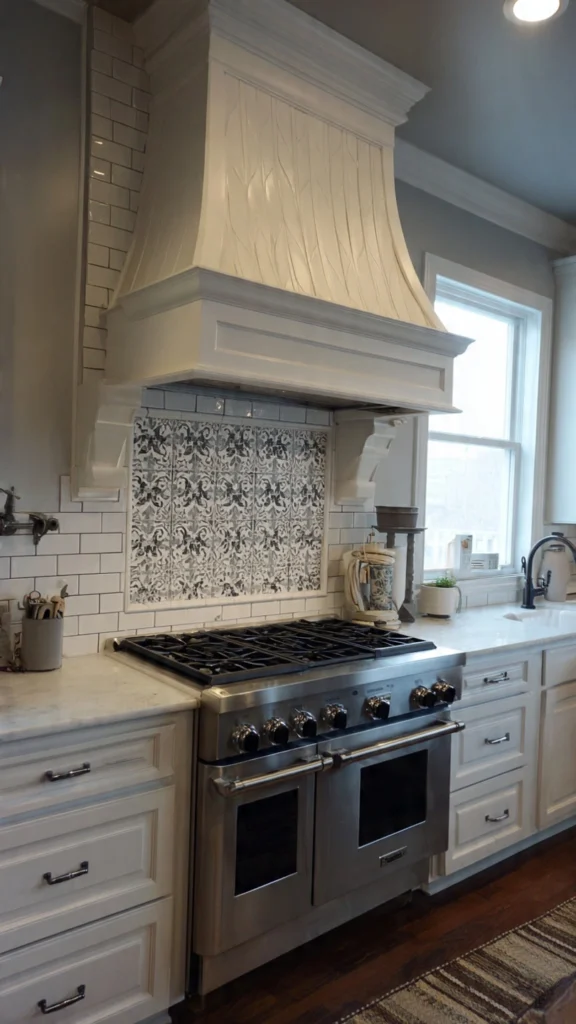
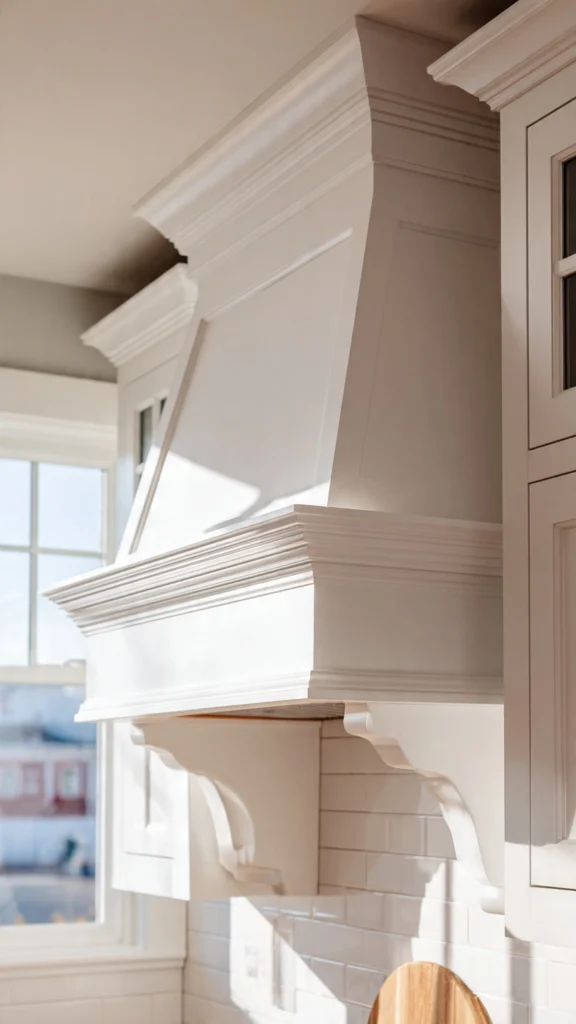
Farmhouse Wood Range Hood
The farmhouse range hood is perhaps the most requested style in DIY kitchen renovations. It typically features a box or tapered silhouette, painted white or cream, with beadboard paneling, corbels at the base, and chunky crown moulding along the top. The result is a piece that feels both cozy and polished.
Shaker-style cabinetry, apron-front sinks, and open shelving are natural companions for the farmhouse hood. For those designing a warm, character-driven kitchen, this style is a perennial favorite — and it aligns beautifully with
the sun-baked warmth of Southwestern desert-inspired interiors when finished in earthy tones.
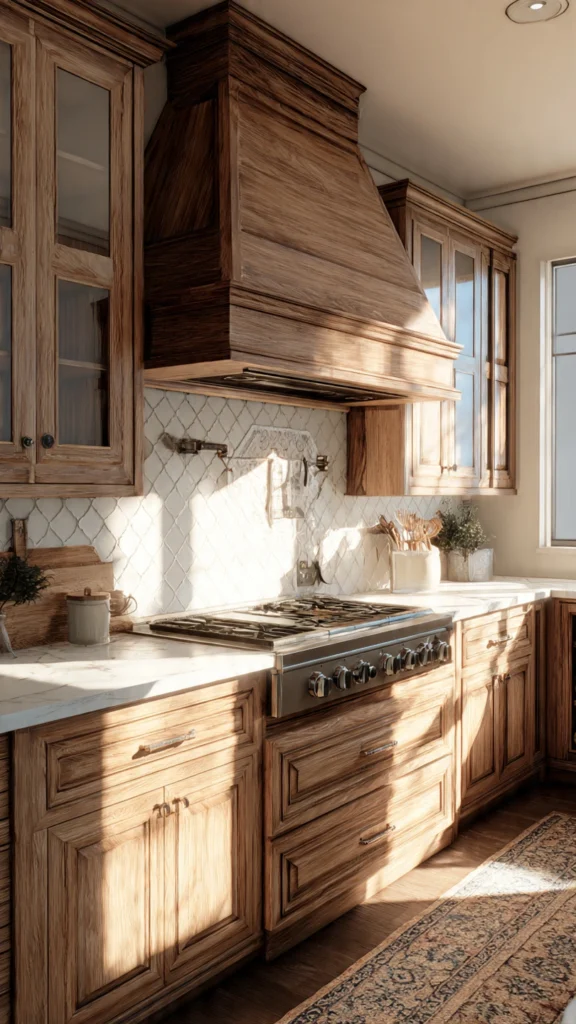
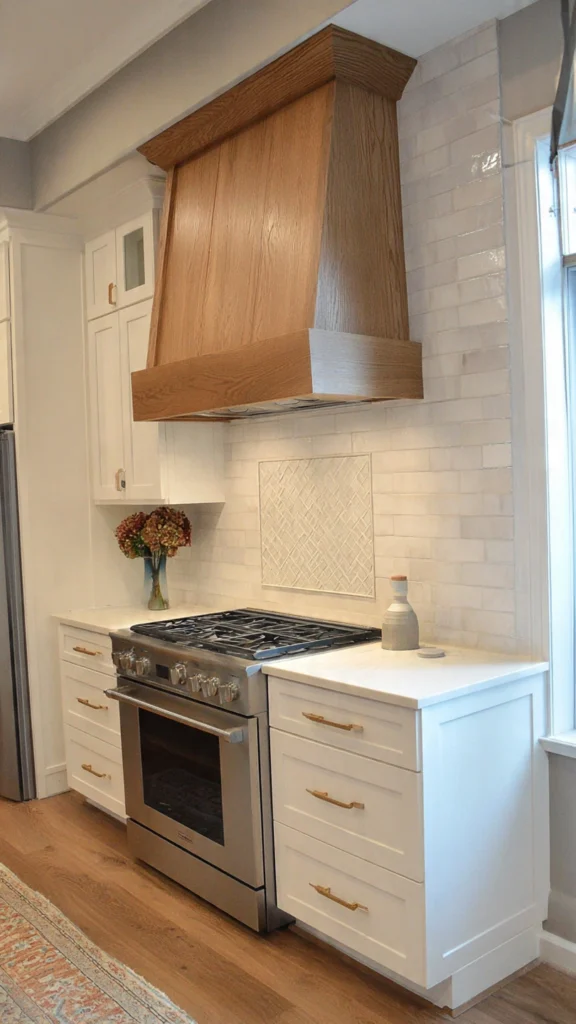
Modern Minimalist Range Hood
For kitchens that lean toward clean lines and uncluttered surfaces, a modern minimalist wood range hood is the answer. This style uses a simple box profile with flush, gap-free panels and no decorative trim. The focus is entirely on the material itself — often a light-toned hardwood like maple or white oak with a natural matte finish.
This hood style pairs best with handleless cabinetry, quartz countertops, and integrated appliances. It is the kind of kitchen addition that creates a striking architectural moment without demanding attention.
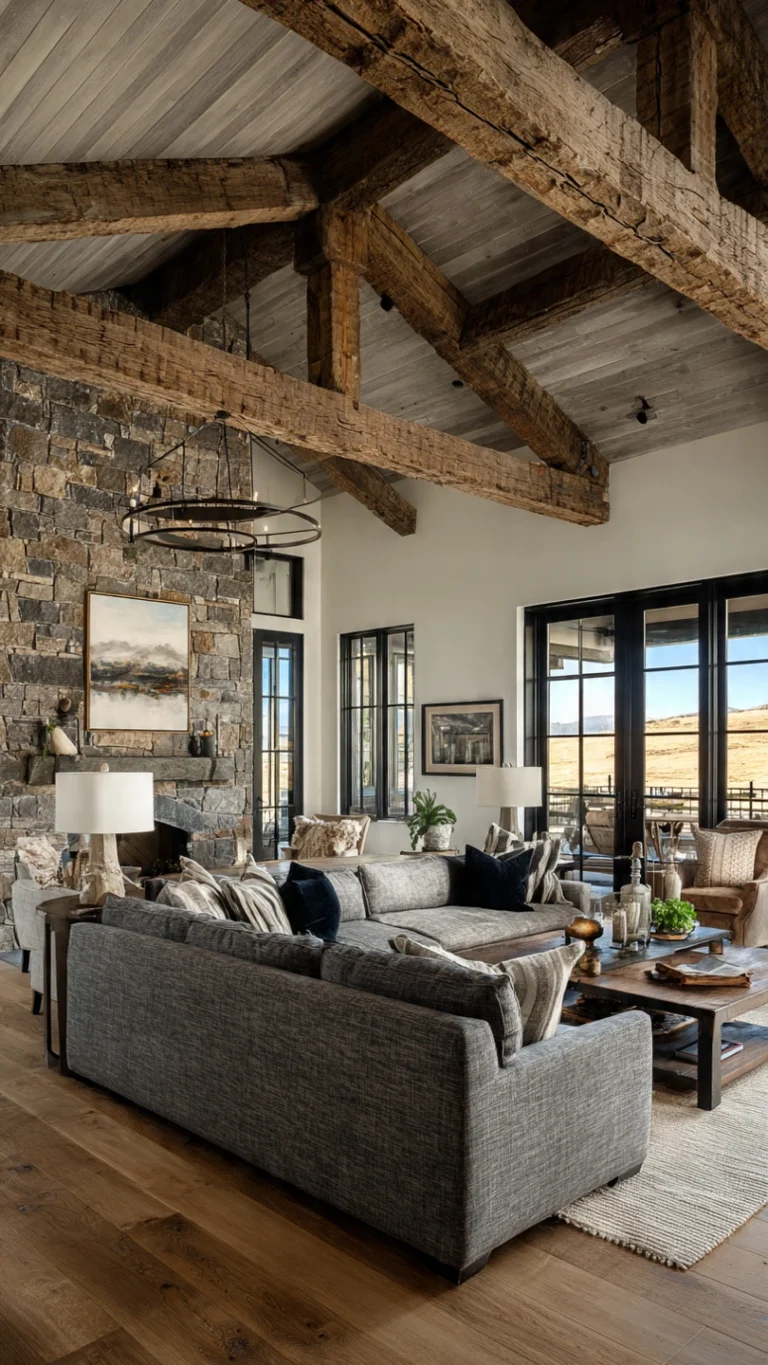
Rustic Reclaimed Wood Range Hood
A reclaimed wood range hood brings history and texture into the kitchen in a way no new material can replicate. Sourced from old barns, factories, or homes, reclaimed wood carries weathered patinas, nail holes, and natural variations that make every hood entirely one of a kind.
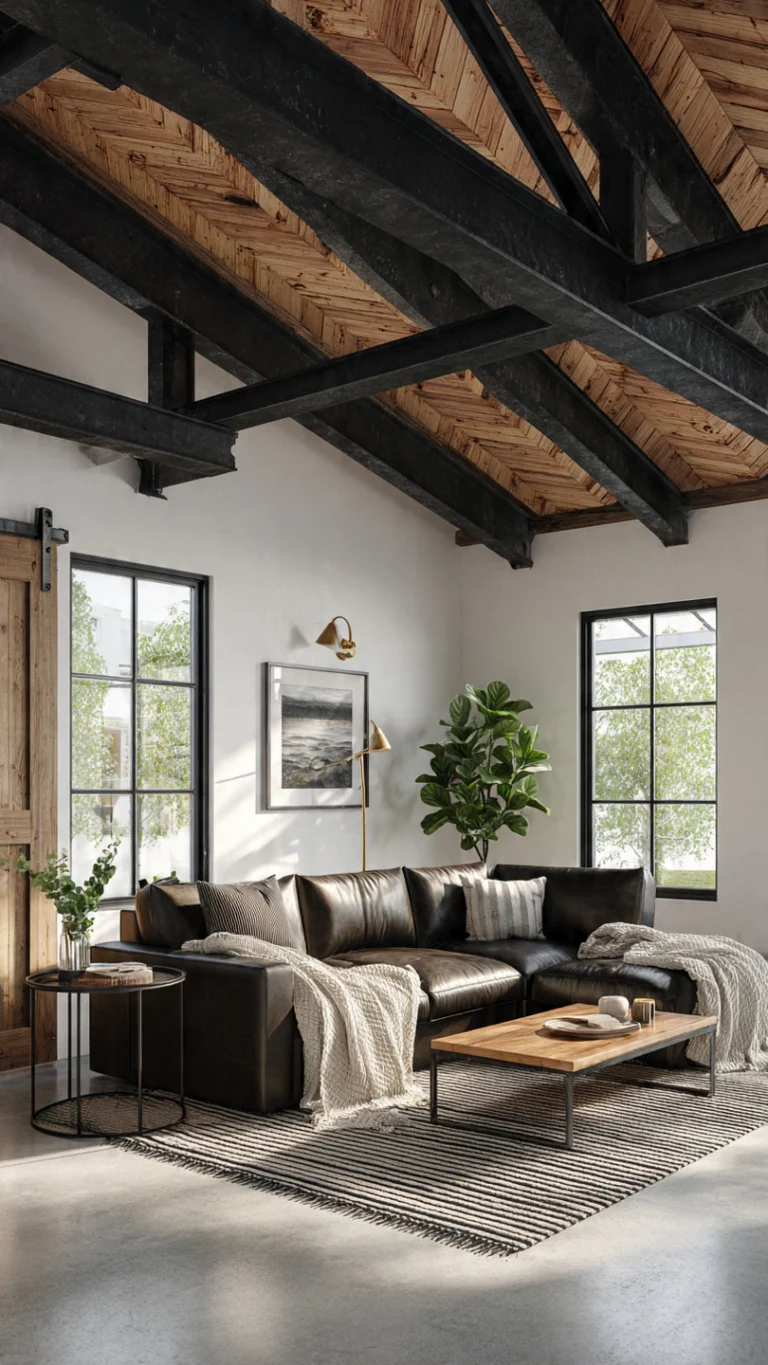
Building with reclaimed wood requires a bit more patience — pieces may not be uniform in thickness and often need extra flattening and cleaning — but the result is extraordinary. This style suits
dramatic, character-rich spaces like the interior design principles explored in modern barndominium basement design.
Shiplap Range Hood Design
Shiplap — the horizontal or vertical tongue-and-groove planking popularized by farmhouse interior design — translates beautifully to range hood covers. A shiplap range hood uses thin planks applied horizontally across the box frame, creating a beautifully textured surface that catches light and adds depth.
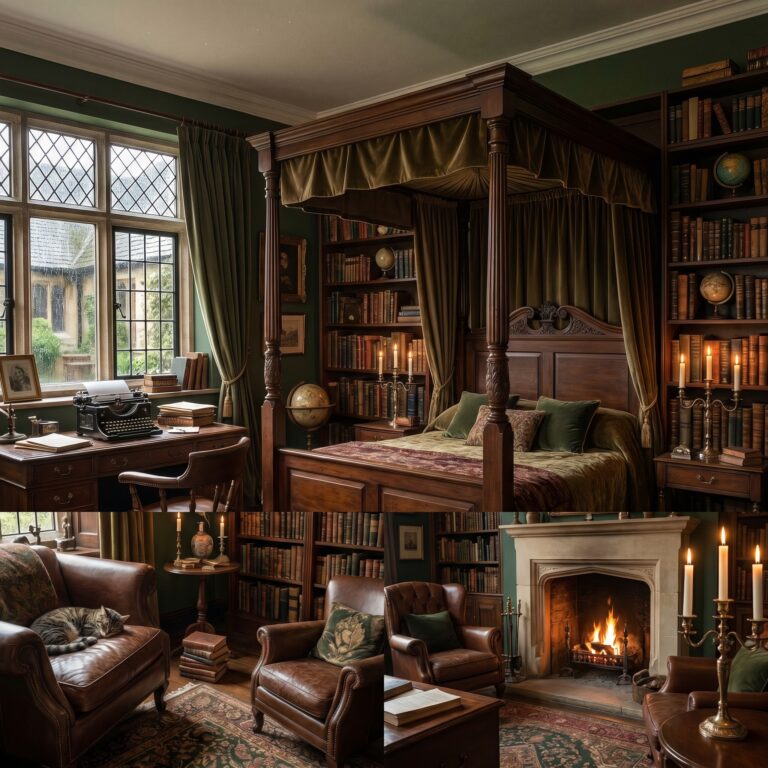
Shiplap works in painted or whitewashed finishes, and the paneling style naturally complements other shiplap elements in the kitchen or the broader home. For kitchens where warmth and texture are a priority — especially in cozy living spaces like those found in
spacious Edwardian living rooms that emphasize architectural character — a shiplap hood is a natural extension of that design language (see Edwardian living room inspiration here).
Common Mistakes to Avoid When Building a Wood Range Hood
Even experienced woodworkers can run into trouble on this type of project. Knowing the most common pitfalls in advance makes it much easier to sidestep them.
Improper Ventilation Setup
One of the most common mistakes in a DIY vent hood build is overlooking proper airflow. The wood enclosure must provide adequate clearance around the insert to allow air to move freely. Sealing the interior cavity too tightly traps heat and drastically reduces the insert’s performance.
Another frequent error is skipping the ductwork run entirely and assuming a ductless insert will perform comparably. For households that cook frequently on high heat, a properly ducted range hood exhaust vent cover will always outperform a recirculating unit. The extra effort involved in running ductwork is well worth it for anyone who cooks seriously.
Wrong Wood Selection
Not all wood is suited for use near a heat source. Selecting a wood cover for range hood projects means understanding that the material will be exposed to elevated temperatures, steam, and cooking grease on a daily basis. Soft, porous woods that absorb moisture readily can warp or crack over time in a kitchen environment.
MDF, while an excellent substrate for paint, can swell irreparably when exposed to prolonged steam. If using MDF on any surface close to the cooking zone, sealing it thoroughly on all six faces — including the cut edges — is essential. For the most durable results, sticking to hardwoods or high-quality primed MDF with excellent sealing is the safest approach.
Ignoring Fire Safety Codes
A wooden range hood may look stunning, but it sits above an open flame or high-heat electric element — which means fire safety cannot be treated as an afterthought. Most local building codes require a minimum clearance between the cooking surface and the bottom of the hood (typically 24 to 30 inches), and many specify the type of insert required.
Before starting, always check local building codes for kitchen ventilation requirements. The insert should be UL-listed, and any electrical work should be performed by or inspected by a licensed electrician. Staying code-compliant is not just a legal requirement — it is the difference between a safe kitchen and a dangerous one.
For More Guidance:
Frequently Asked Questions About DIY Wood Range Hoods
How Much Does It Cost to Build a DIY Wood Range Hood?
The total cost varies based on wood selection, insert quality, and whether any professional help is needed for electrical or duct work. A basic build using pine or poplar with a mid-range insert typically lands between $250 and $500. Using premium hardwoods, high-end hardware, and a commercial-grade insert can push the total closer to $800 to $1,000 — but even at that price, it is often significantly cheaper than purchasing a comparable custom kitchen hood vent cover from a specialty retailer.
For homeowners on a tighter budget, focusing spending on a quality insert (the functional core of the hood) and using more economical materials like MDF or pine for the wood structure is a smart way to keep costs down without sacrificing performance.
Is a Wood Range Hood Safe to Use?
Yes — a wood range hood is safe when built and installed correctly. The key factors are maintaining proper clearance from the cooking surface, using a UL-listed ventilation insert, and sealing all surfaces with a heat-resistant finish. The wood does not need to be directly above the burners — the insert and its housing sit between the flame and the wood exterior.
It is worth noting that wood range hood covers have been used in kitchens for generations and remain a standard feature in many high-end custom kitchens. Proper construction and regular cleaning (to prevent grease buildup) keep them safe for decades.
Do I Need a Vent Insert for a Wood Range Hood?
Technically, a vent insert is not required for the hood to exist structurally, but it is strongly recommended for any kitchen that sees regular cooking. Without an insert, a wood range hood cover is a purely decorative element — it will not remove smoke, steam, heat, or cooking odors. Over time, grease vapor from cooking without ventilation can discolor the wood, penetrate the finish, and create an indoor air quality problem.
For those building a range hood cover over an existing metal insert that is already doing its job, a wood enclosure is a perfectly valid way to improve the aesthetics of the ventilation setup without replacing the functional components.
What Wood Is Best for a Range Hood?
Poplar is the top recommendation for painted range hoods — it is affordable, easy to work with, and takes paint exceptionally well. Maple and oak are the preferred choices for stained hoods, offering beautiful grain and long-term durability. Pine is a budget-friendly option that works well in farmhouse or casual kitchen styles.
For anyone interested in creating a truly unique statement piece, exploring design inspirations such as
the earthy, nature-forward palette of sage green basement ideas can offer fresh perspectives on pairing natural wood tones with complementary colors throughout the home.
Final Thoughts: Is a DIY Wood Range Hood Worth It?
For homeowners who want a kitchen that truly reflects their personality and style, the answer is an emphatic yes. A custom DIY wood range hood delivers a level of visual impact and personalization that a store-bought metal unit simply cannot replicate. It becomes an instant focal point — the kind of detail that guests notice immediately and that makes the kitchen feel like a curated, intentional space.
The project is well within reach for anyone comfortable with basic woodworking tools. The investment in time — typically one to two weekends for a first-timer — pays off in a piece that adds real value to the home and lasts for many years. Whether the goal is a classic farmhouse vent hood cover wood finish, a sleek modern box, or a one-of-a-kind reclaimed wood showpiece, the process covered in this guide provides everything needed to make it happen.
Beyond the kitchen itself, a thoughtfully designed range hood can inspire a broader interior design vision from warm, layered color palettes to cohesive architectural details that flow throughout the entire home. Once the sawdust settles and the final coat of sealer dries, the view from the kitchen will never look the same.